How to deploy the site on Netlify
Created on Sep 22, 2021We are going to learn how to make our site live free using Netlify. Click the link and you will be redirected to the official Netlify website. Now there are few steps to follow:
Step 1:
When you click the above link or visit the official Netlify website you will
land on the home page of Netlify. First, you need to signUp to make it work
for signUp you need to fill in signUp form details. Once you signUp, click
sign in entering your user id and password.

Step 2:
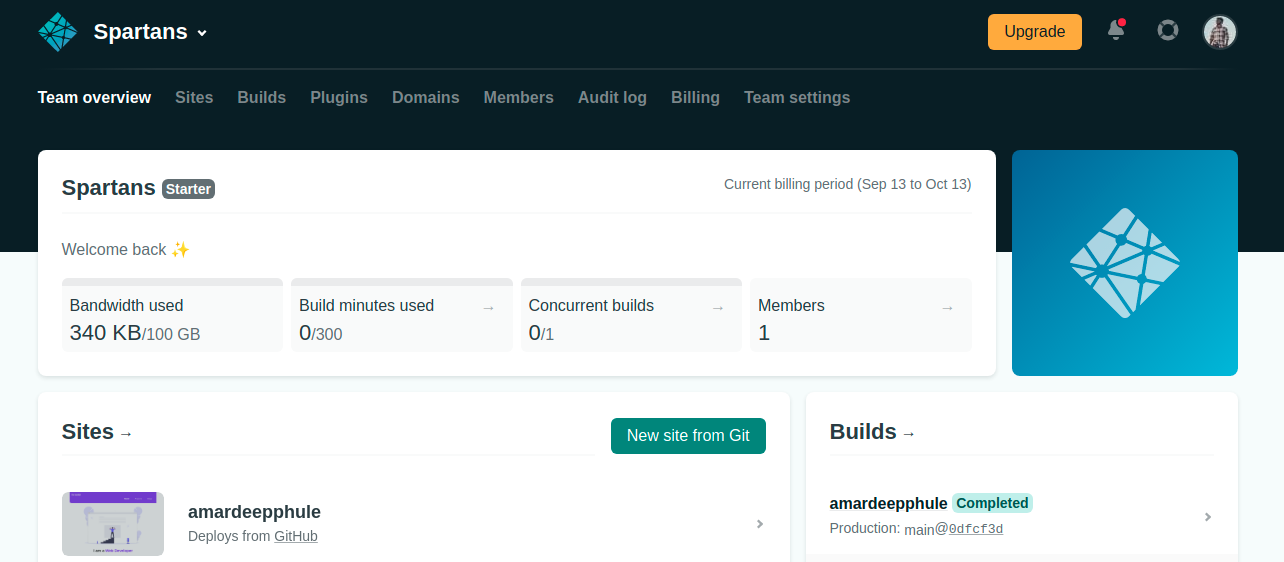
After sign in you will get a screen like the below image. Since you are a new
user, you don't have any repositories. There are few tabs on-screen let does not worry about it right now. Click on New site from Git.
It will open next page.
Step 3:
Now you need to have repositories on either platform
Github, GitLab, Bitbucket to make your site live.
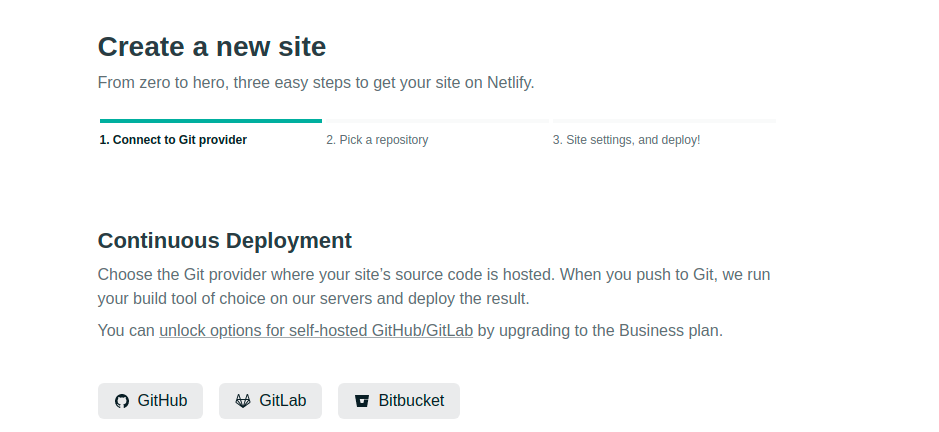
Step 4:
As my repositories are on GitHub so I am going to click on the GitHub button.
In this step after clicking Github, you are redirected to the new window where you need to give the necessary permissions to allow Netlify to use a repository.
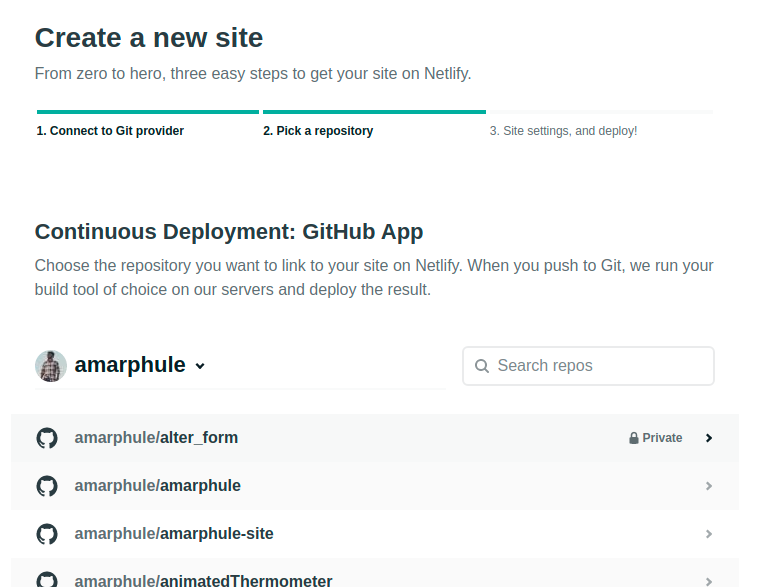
Step 5:
Now you are quite near to make the site live. Here you see your list of GitHub repositories. In the search box type the repository name which you want to link to your site on Netlify and press enter. Now select the repository.
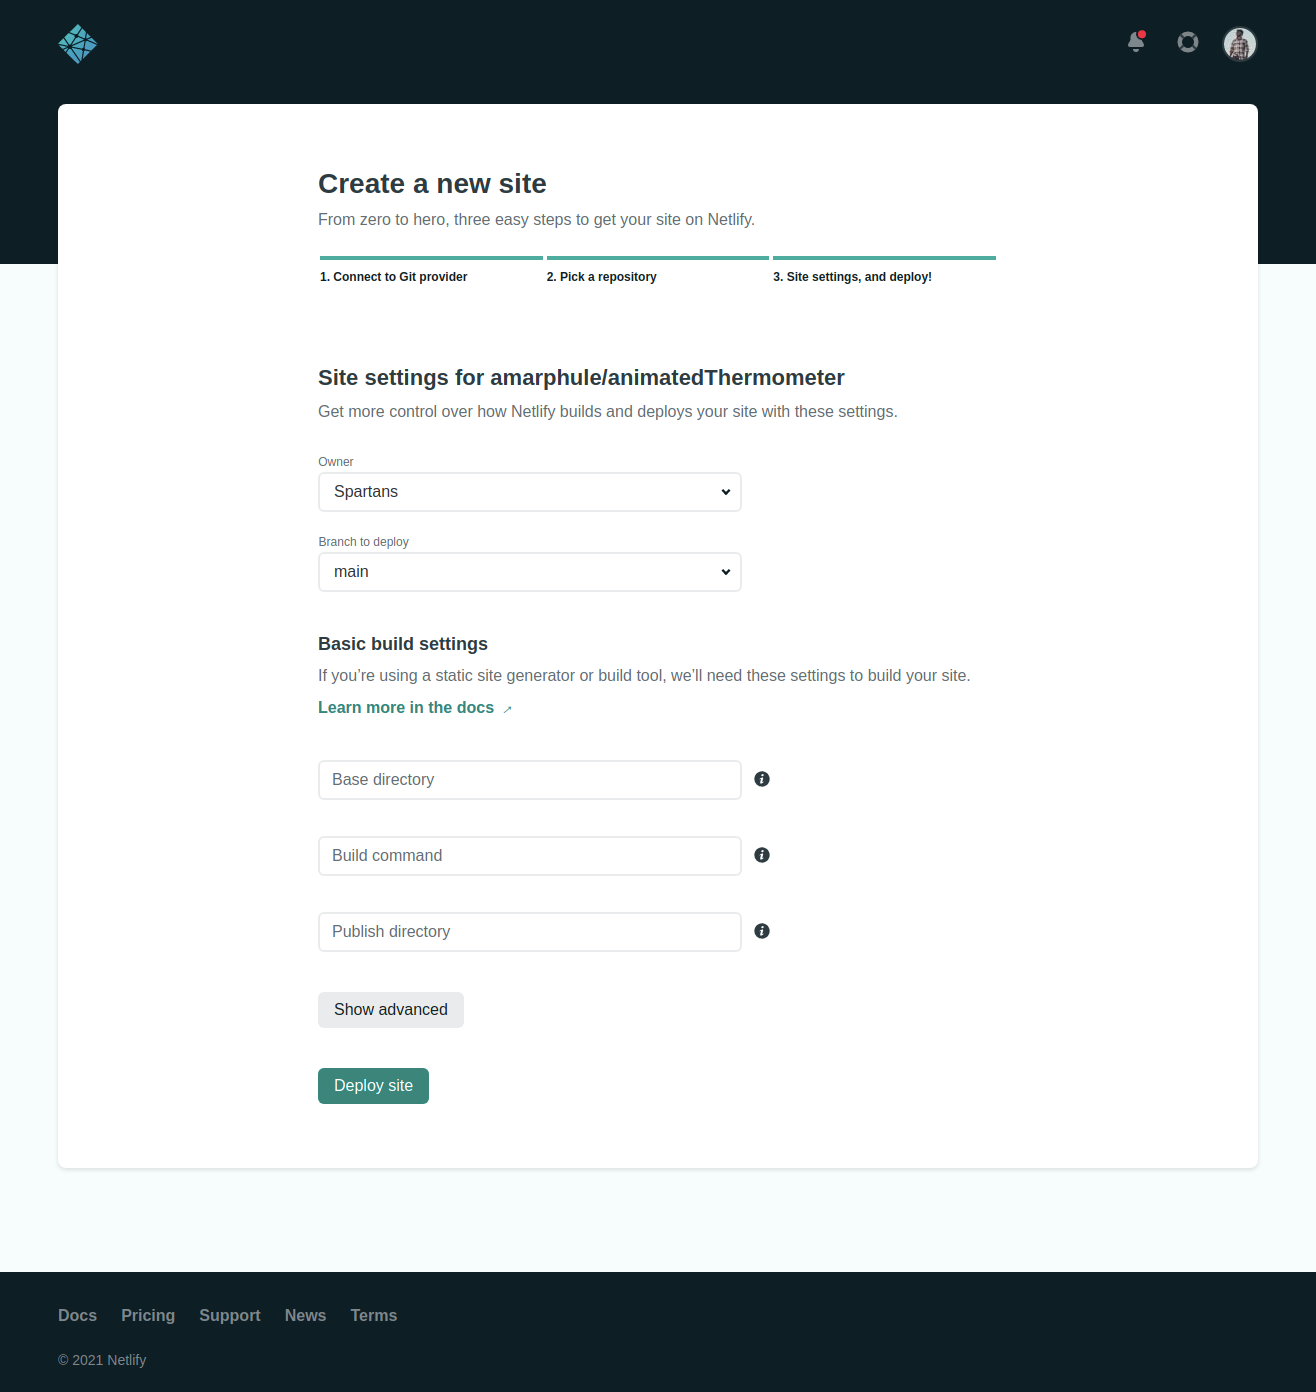
Step 6:
On selection of repository, you get a site setting page for your repository.
on this setting page, you can provide information like Owner name, Branch to deploy. And click on the Deploy site button. It takes to few seconds to deploy your site.
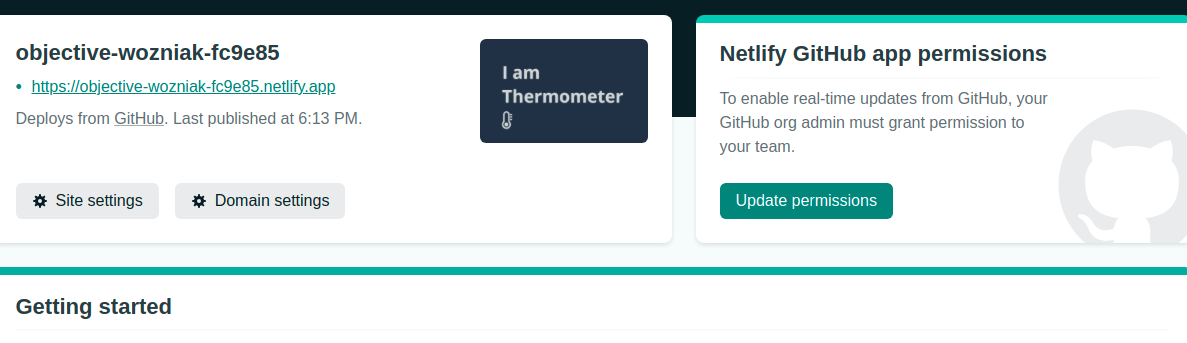
Step 7:
Wow, Look your site is live now. Click on the link https://objective-wozniak-fc9e85.netlify.app. (In your case it is different) to see your first live site.
You can change site name by clicking Domain settings >> Custom domains >> Options(Edit site name)>>type new name>>save